Tasks
Last updated - Apr 30, 2024 at 8:55AM
A task is a many-times work item. For example a carpenter may have a task setup as RUBBISH CLEANUP. This task is performed multiple times on different worksites. Tasks are different to Activities in that many employees can be working on the same task but each can be performing a different Activity at the same time. For example on our construction site we are all working on the task RUBBISH CLEANUP but only one person was doing the activity SWEEPING while the rest of us were performing activity FILLING BIN.
Unlike projects, tasks are not dispatched to devices. They must first be scanned by the device using the TimeDock Mobile App to start the instance of the task, which creates a new instance/line on the Jobsheet each time. Time is accrued against each task instance rather than consolidating against a single instance.
Tasks can be used as location or job site identifiers. Simply print a task card and fix it to a location to be scanned by the TimeDock Mobile App prior to scanning in employees at the site.
Adding a task:
To add a task log in to your TIMEDOCK web portal and navigate to Setup > Tasks. From the Tasks screen is where you can set up the projects and tasks in the system.
Now click New to add a new task. A screen will display asking for further details such as the Name, Description etc. For a full list of what each detail means see the project settings list below.
Printing cards:
To print a task card navigate the Setup > Tasks screen and click on the task names in the list to select the ones you want to print a card for. Next, click on the Print option in the left-hand menu.
Starting a task:
If you haven't already, you must first print a scannable task card. See Printing cards for more details.
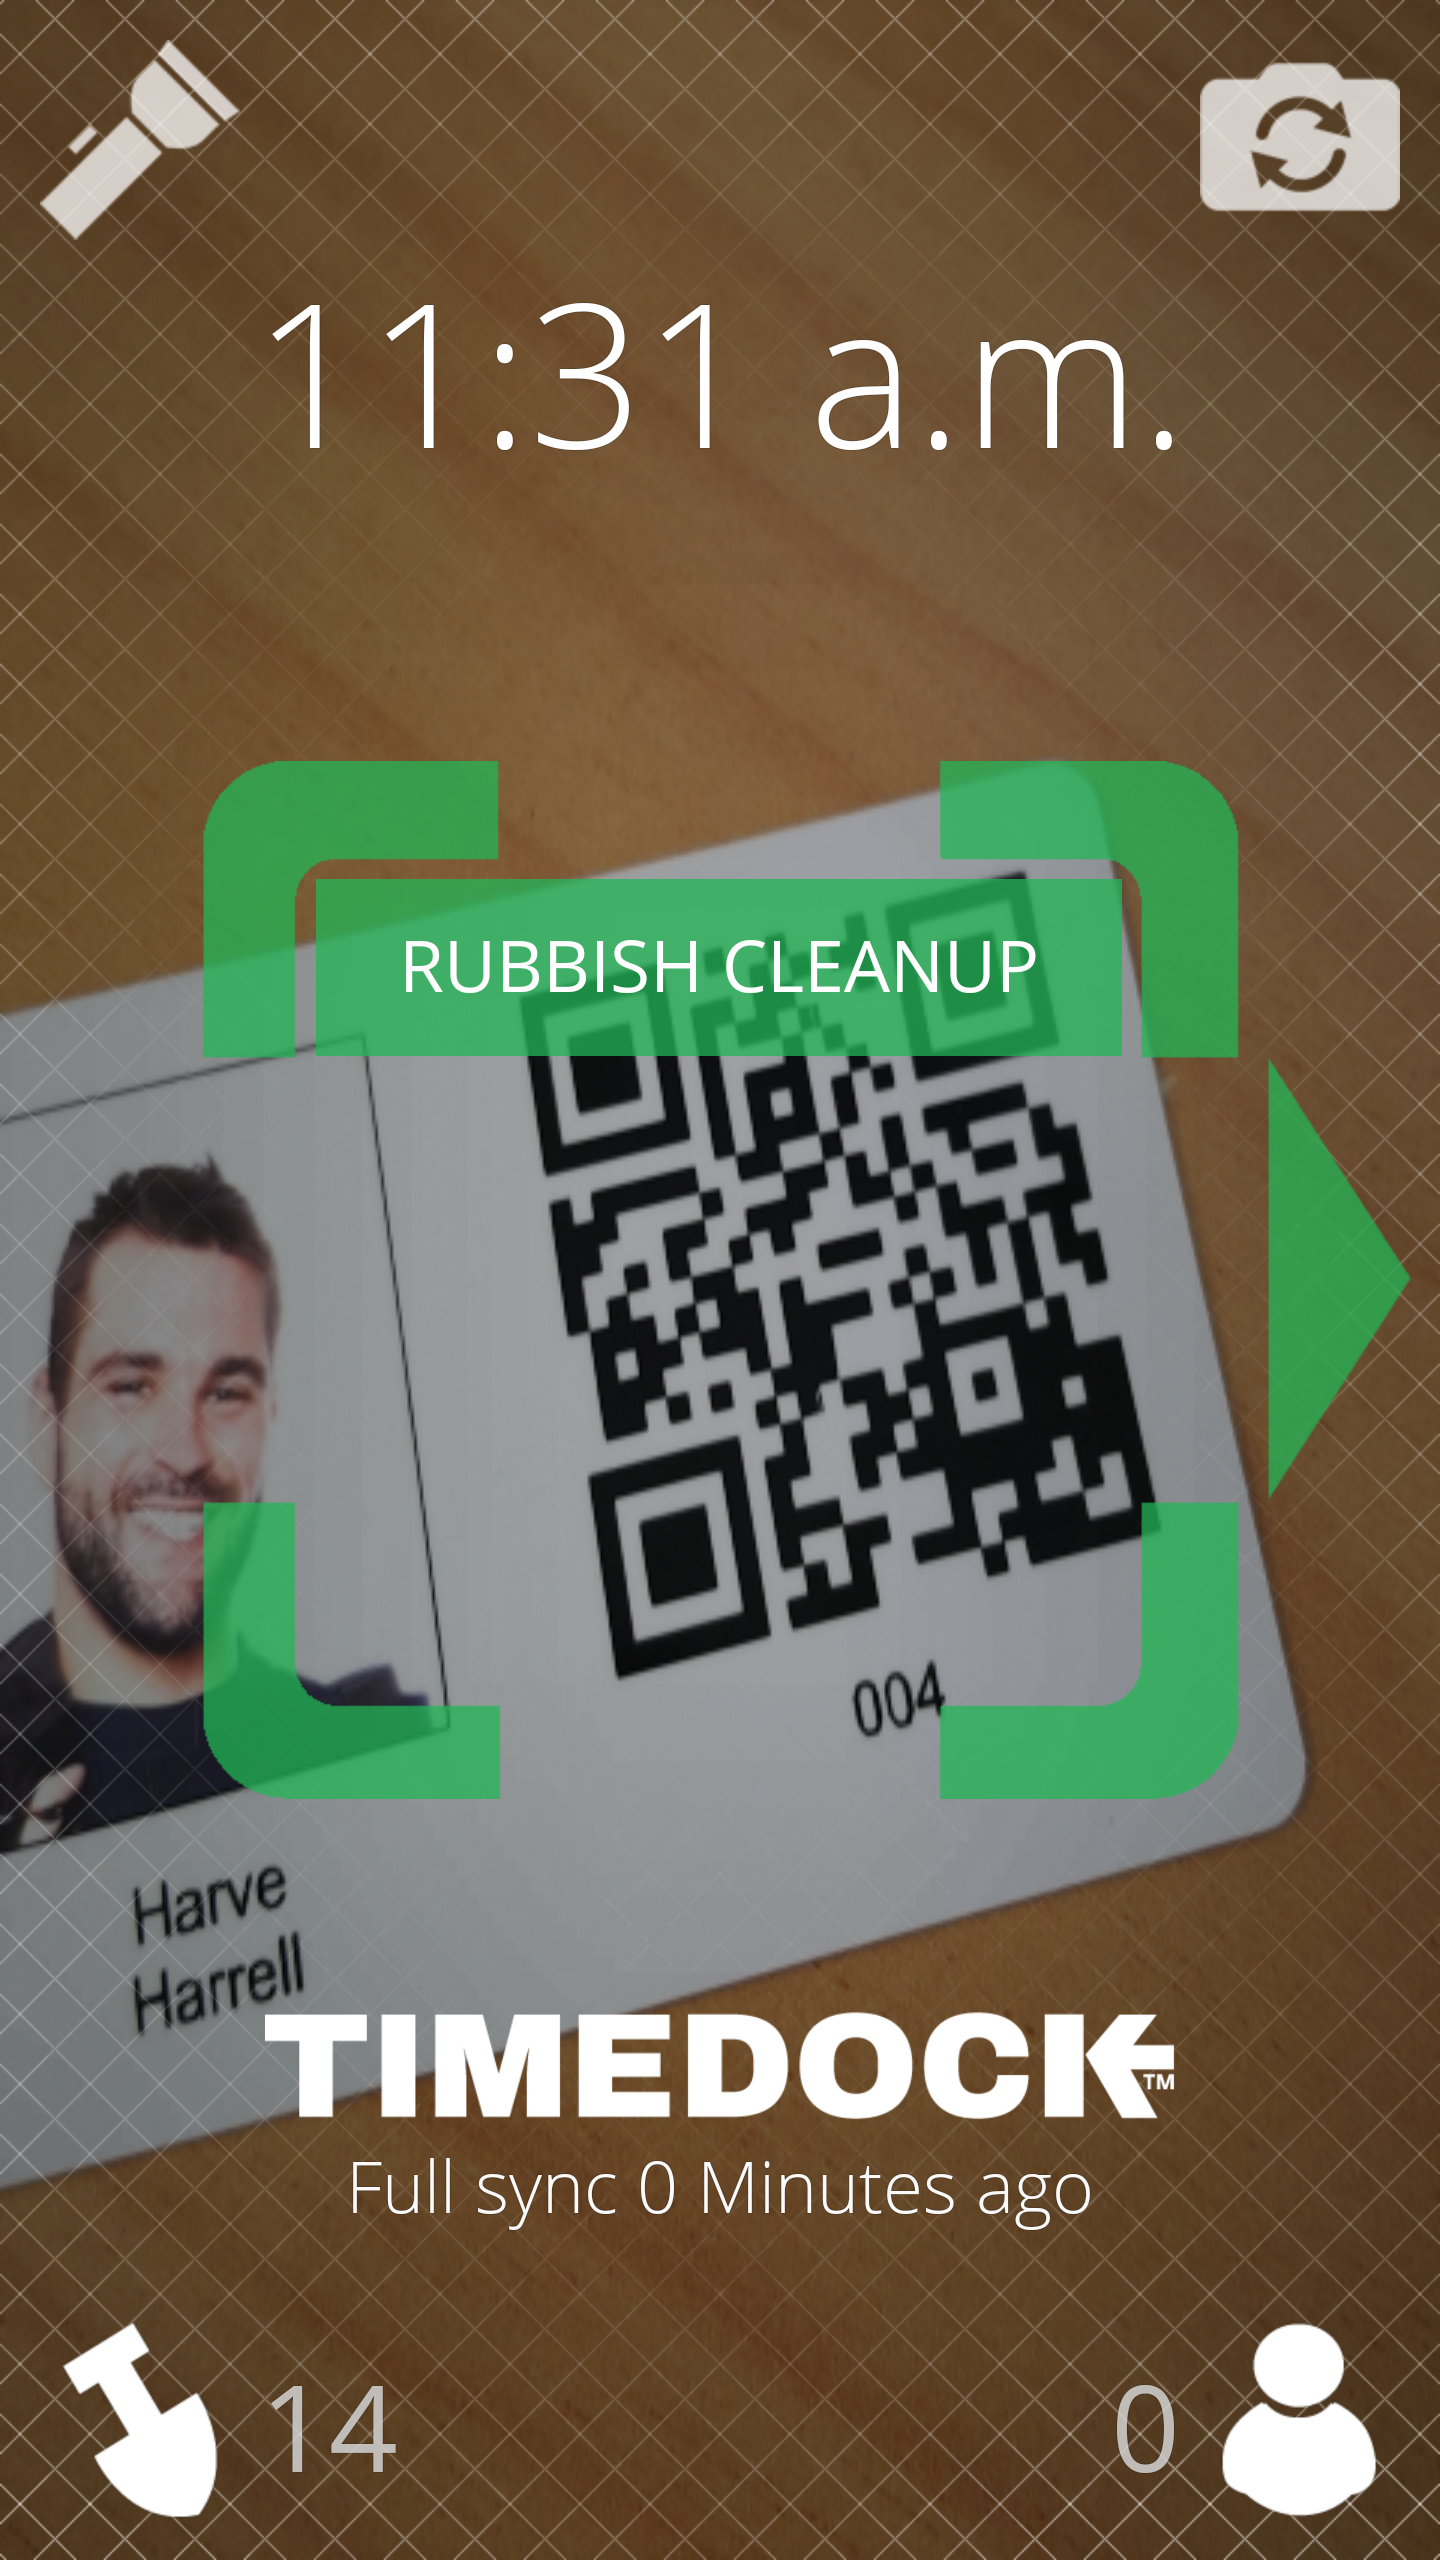
To start an instance of a task, scan the QR code on the task card using the TimeDock Mobile App. This will start a new instance of the task (a new line on your Jobsheet) and you will see a green bar with the task name appear on the app scanning screen. You are now ready to scan employees into the task.

Switching tasks:
Open the mobile app and tap the shovel icon in the bottom left hand corner of the screen - this will display a list of available projects and commenced tasks dispatched for the device.
Select the project or task instance to switch an employee to. You will be given the choice of either Transfer In or scan in. Use the Transfer In option to assign employees to the task that are already clocked in on another task, and use the Scan In option to assign the employees to the task who are not yet clocked in.
See Switching jobs with TimeDock for more information.


Manually adding time to a task:
Log in to the TimeDock web portal.
Select "Manual in/out".
Submit the time entry form (refer to Adding time).
Closing a task:
Log in to the TimeDock web portal.
Navigate to Jobsheet.
Select "Close this job" on the task item.